Замена тачпада на мониторе льяльных вод Deckma OMD-24 из мануала, которым со мной поделился один из наших коллег Руслан )))
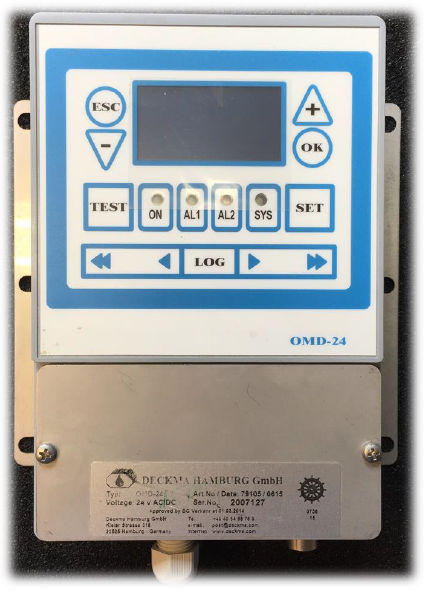
Итак, перестали работать кнопки тачпада на OMD-24 (рис.1).
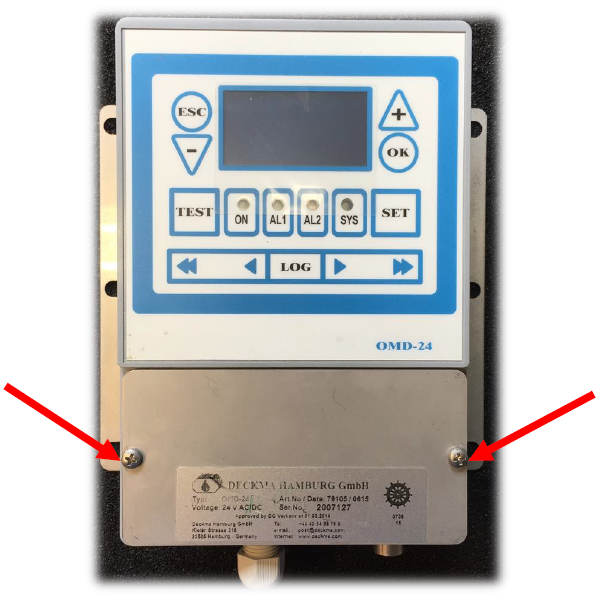
1. Unscrew terminal cover (рис.2):
2. Disconnect encircled connectors and unscrew computerbox (рис.3 и 4):
3. Unscrew unit support. Unscrew computerbox and open it (рис.5):
4. Open computerbox and unscrew computerboard (рис.6):
5. Carefully uncouple the Touch Connector with a pincette and unscrew computerboard (рис.7):
6. Carefully open the terminal with a pincette (рис.8):
7. Now the Terminal is opened and the Touch Connector is uncoupled (рис.9):
8. Touch Connector could be carefully removed. Do not bend the Connector! (рис.10):
9. Touch Connector is disconnected now. Computer Board and Computerbox (рис.11):
10. Remove broken seal. Use some label remover (рис.12 и 13):
11. The new touch view (bottom/front) (рис.14):
12. Remove defective display touch from computerbox. It is recommended to use a pincette (рси.15):
13. Remove the rest of the display touch (рис.16):
14. Clean display touch position with label remover (рис.17):
15. Remove glue protection from display touch (рис.18 и 19):
16. Put the Display Touch Connector into the Computerbox (рис.20):
17. Stick display touch onto the right position (рис.21):
18. Carefully open the Terminal (рис.22):
19. Put computerboard back into the computerbox and put the Touch Connector with a pincette into the terminal (рис.23):
20. Close back the terminal with a pincette. The new display touch is installed now (рис.24):
Далее собираем все в обратной последовательности (рис. 25-29):
И не забудьте наклеить НОВУЮ пломбу (рис.30):
На этом замена тачпада на мониторе OMD-24 завершена!
Ну и по традиции, в конце каждой статьи будут полезные ссылки:
Наш телеграм-чат электромехаников:
Царь-ссылка на весь медиа-контент канала ШАРАПОВ МЕХАНИК:
*****
BRGDS,
Alisher K. Eshimbetov.
Electro-Technical Officer (ETO).